Chapter 02
Getting started
This chapter walks a new user through their first session: signing in, reading the dashboard, finding your way round on a phone, switching between customers (providers only) and giving the panel your own branding.
Signing in
Open the panel address you were given (for a hosted service this is typically https://doors.<provider-domain>; for a self-hosted panel see chapter 16). Enter your username and password and press Sign in.
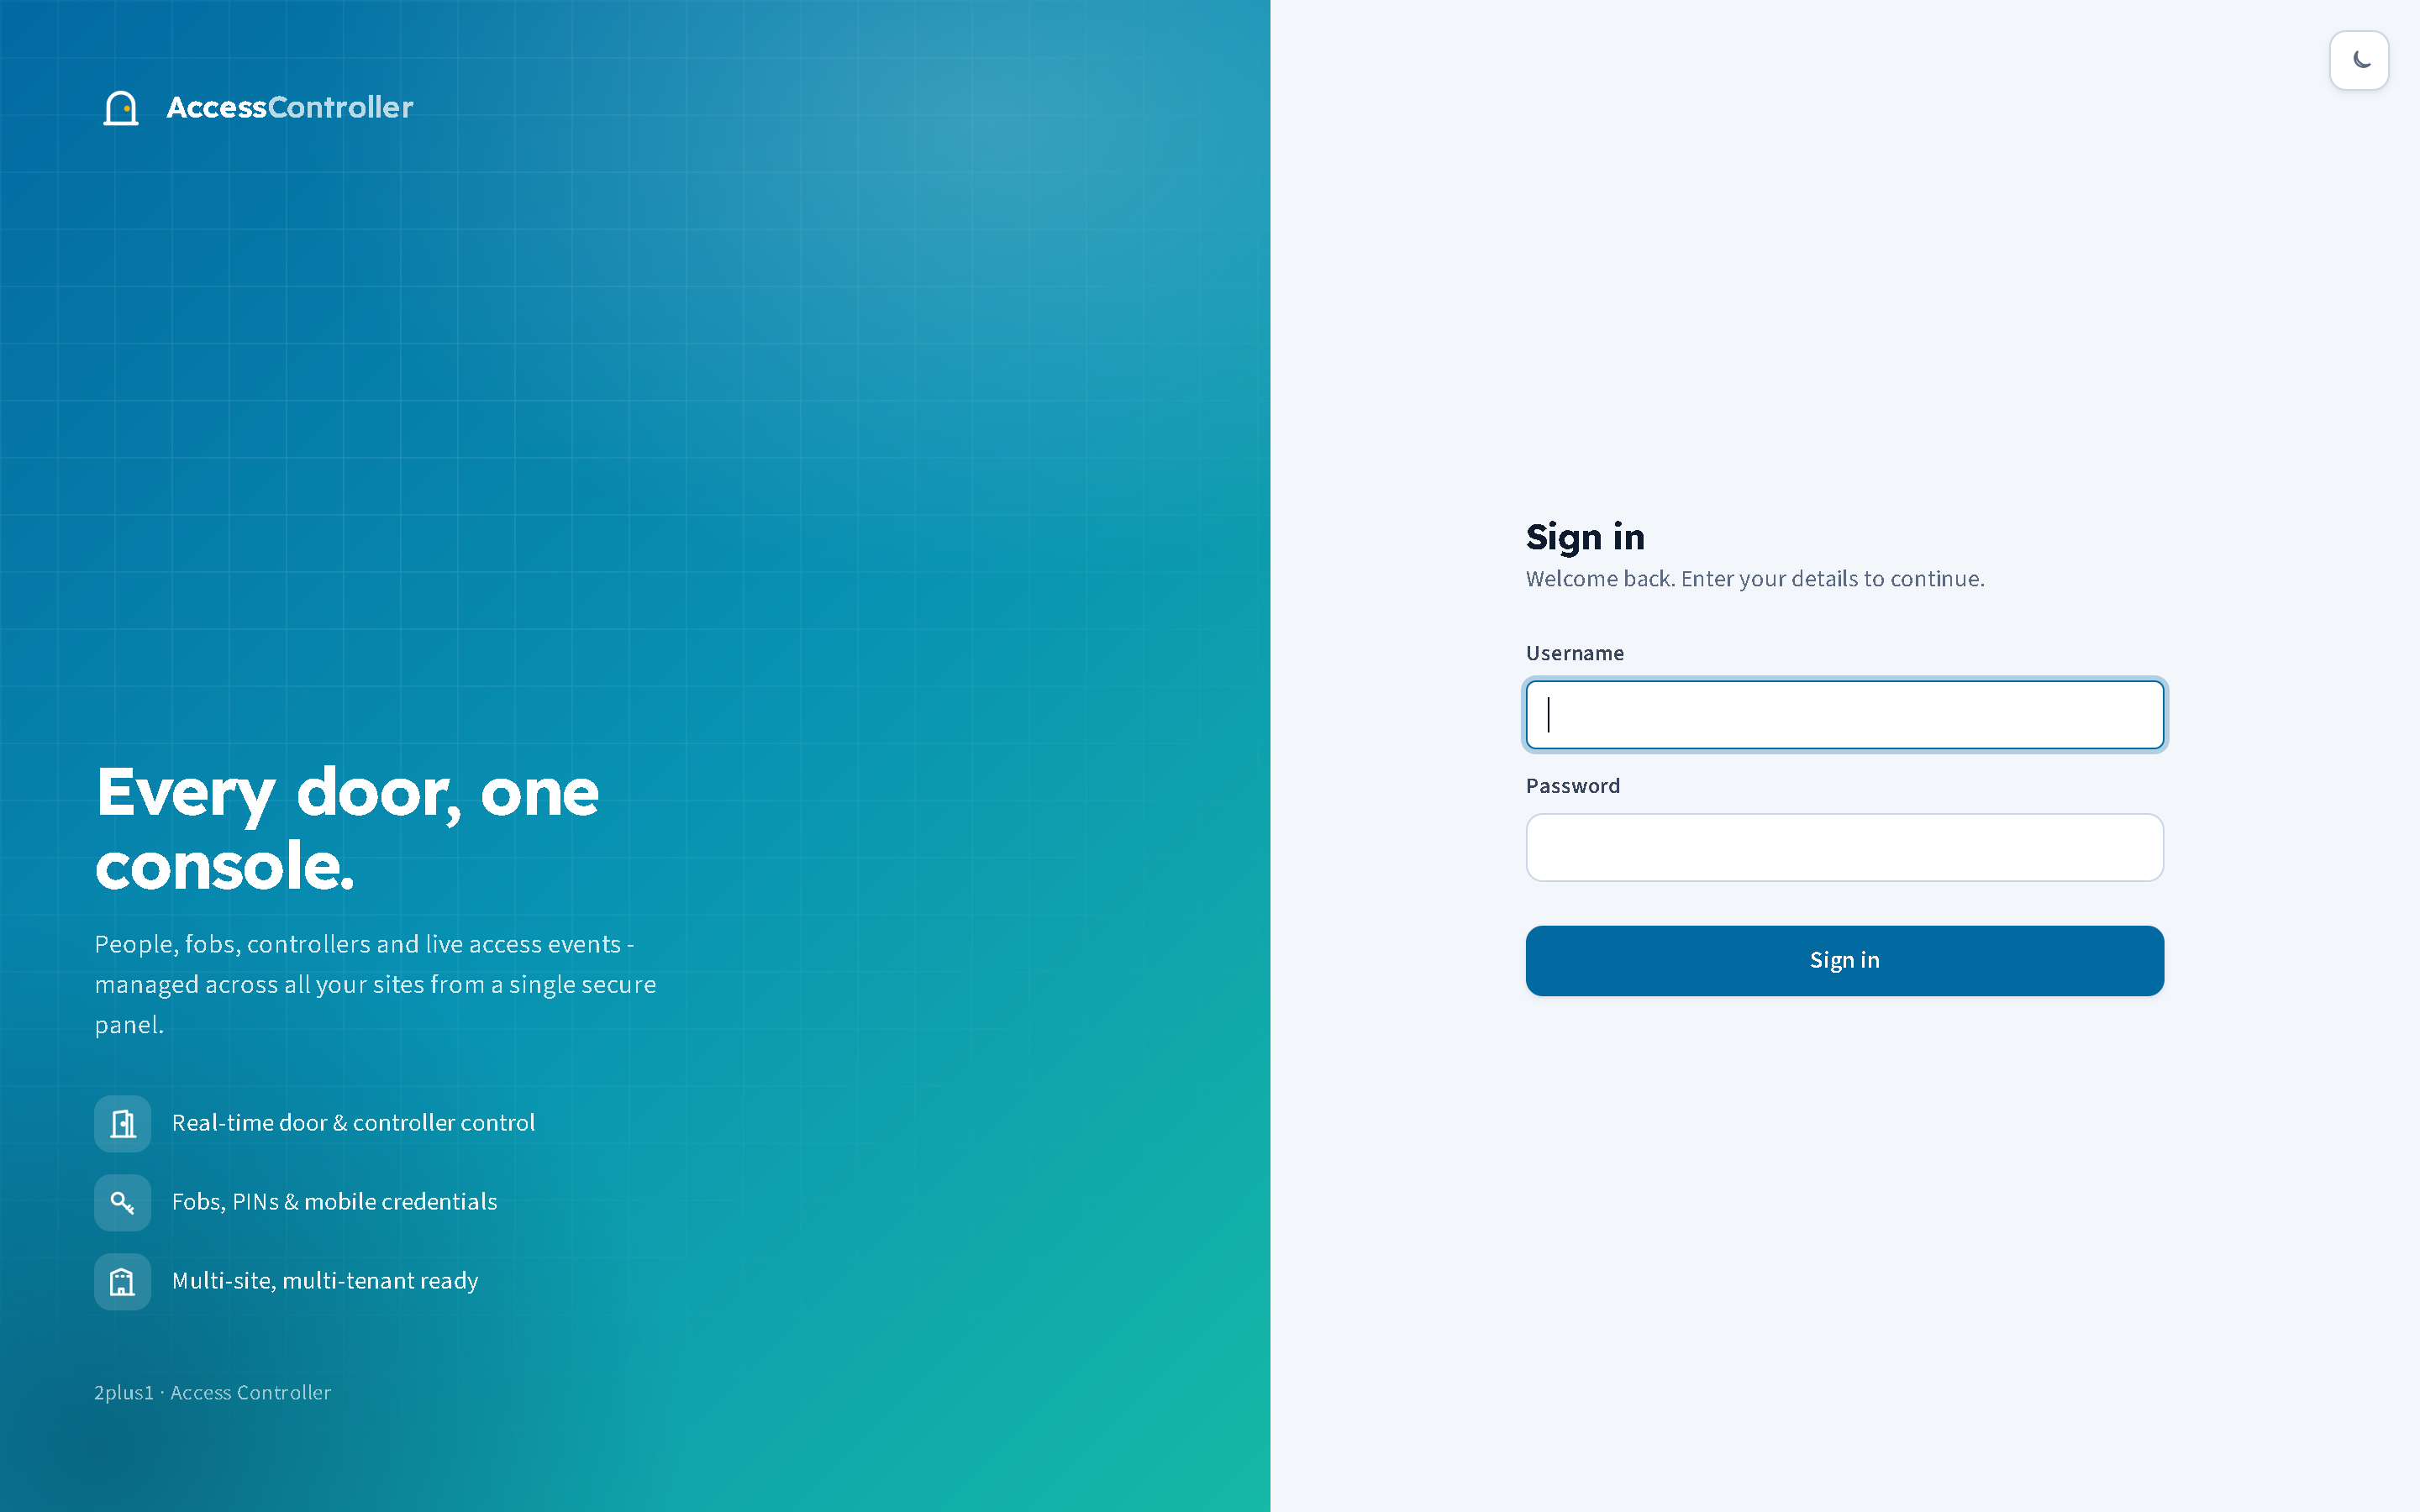
- Your account was created either by the person who hosts the panel (the super admin) or by an admin of your organisation on the Users page. There is no self-registration and no "forgot password" link: an admin resets your password for you (chapter 12).
- A wrong username or password shows "Invalid username or password" and the panel deliberately pauses for half a second before answering, which makes password guessing slow.
- A session lasts seven days. Log out is at the bottom of the sidebar. Closing the browser does not end the session, so on a shared computer always log out.
- The sun/moon button in the sidebar footer (top-right on the sign-in page) switches between light and dark themes. The choice is remembered on that browser.
The dashboard
After signing in you land on the dashboard. It answers the question "is everything all right today?" at a glance.
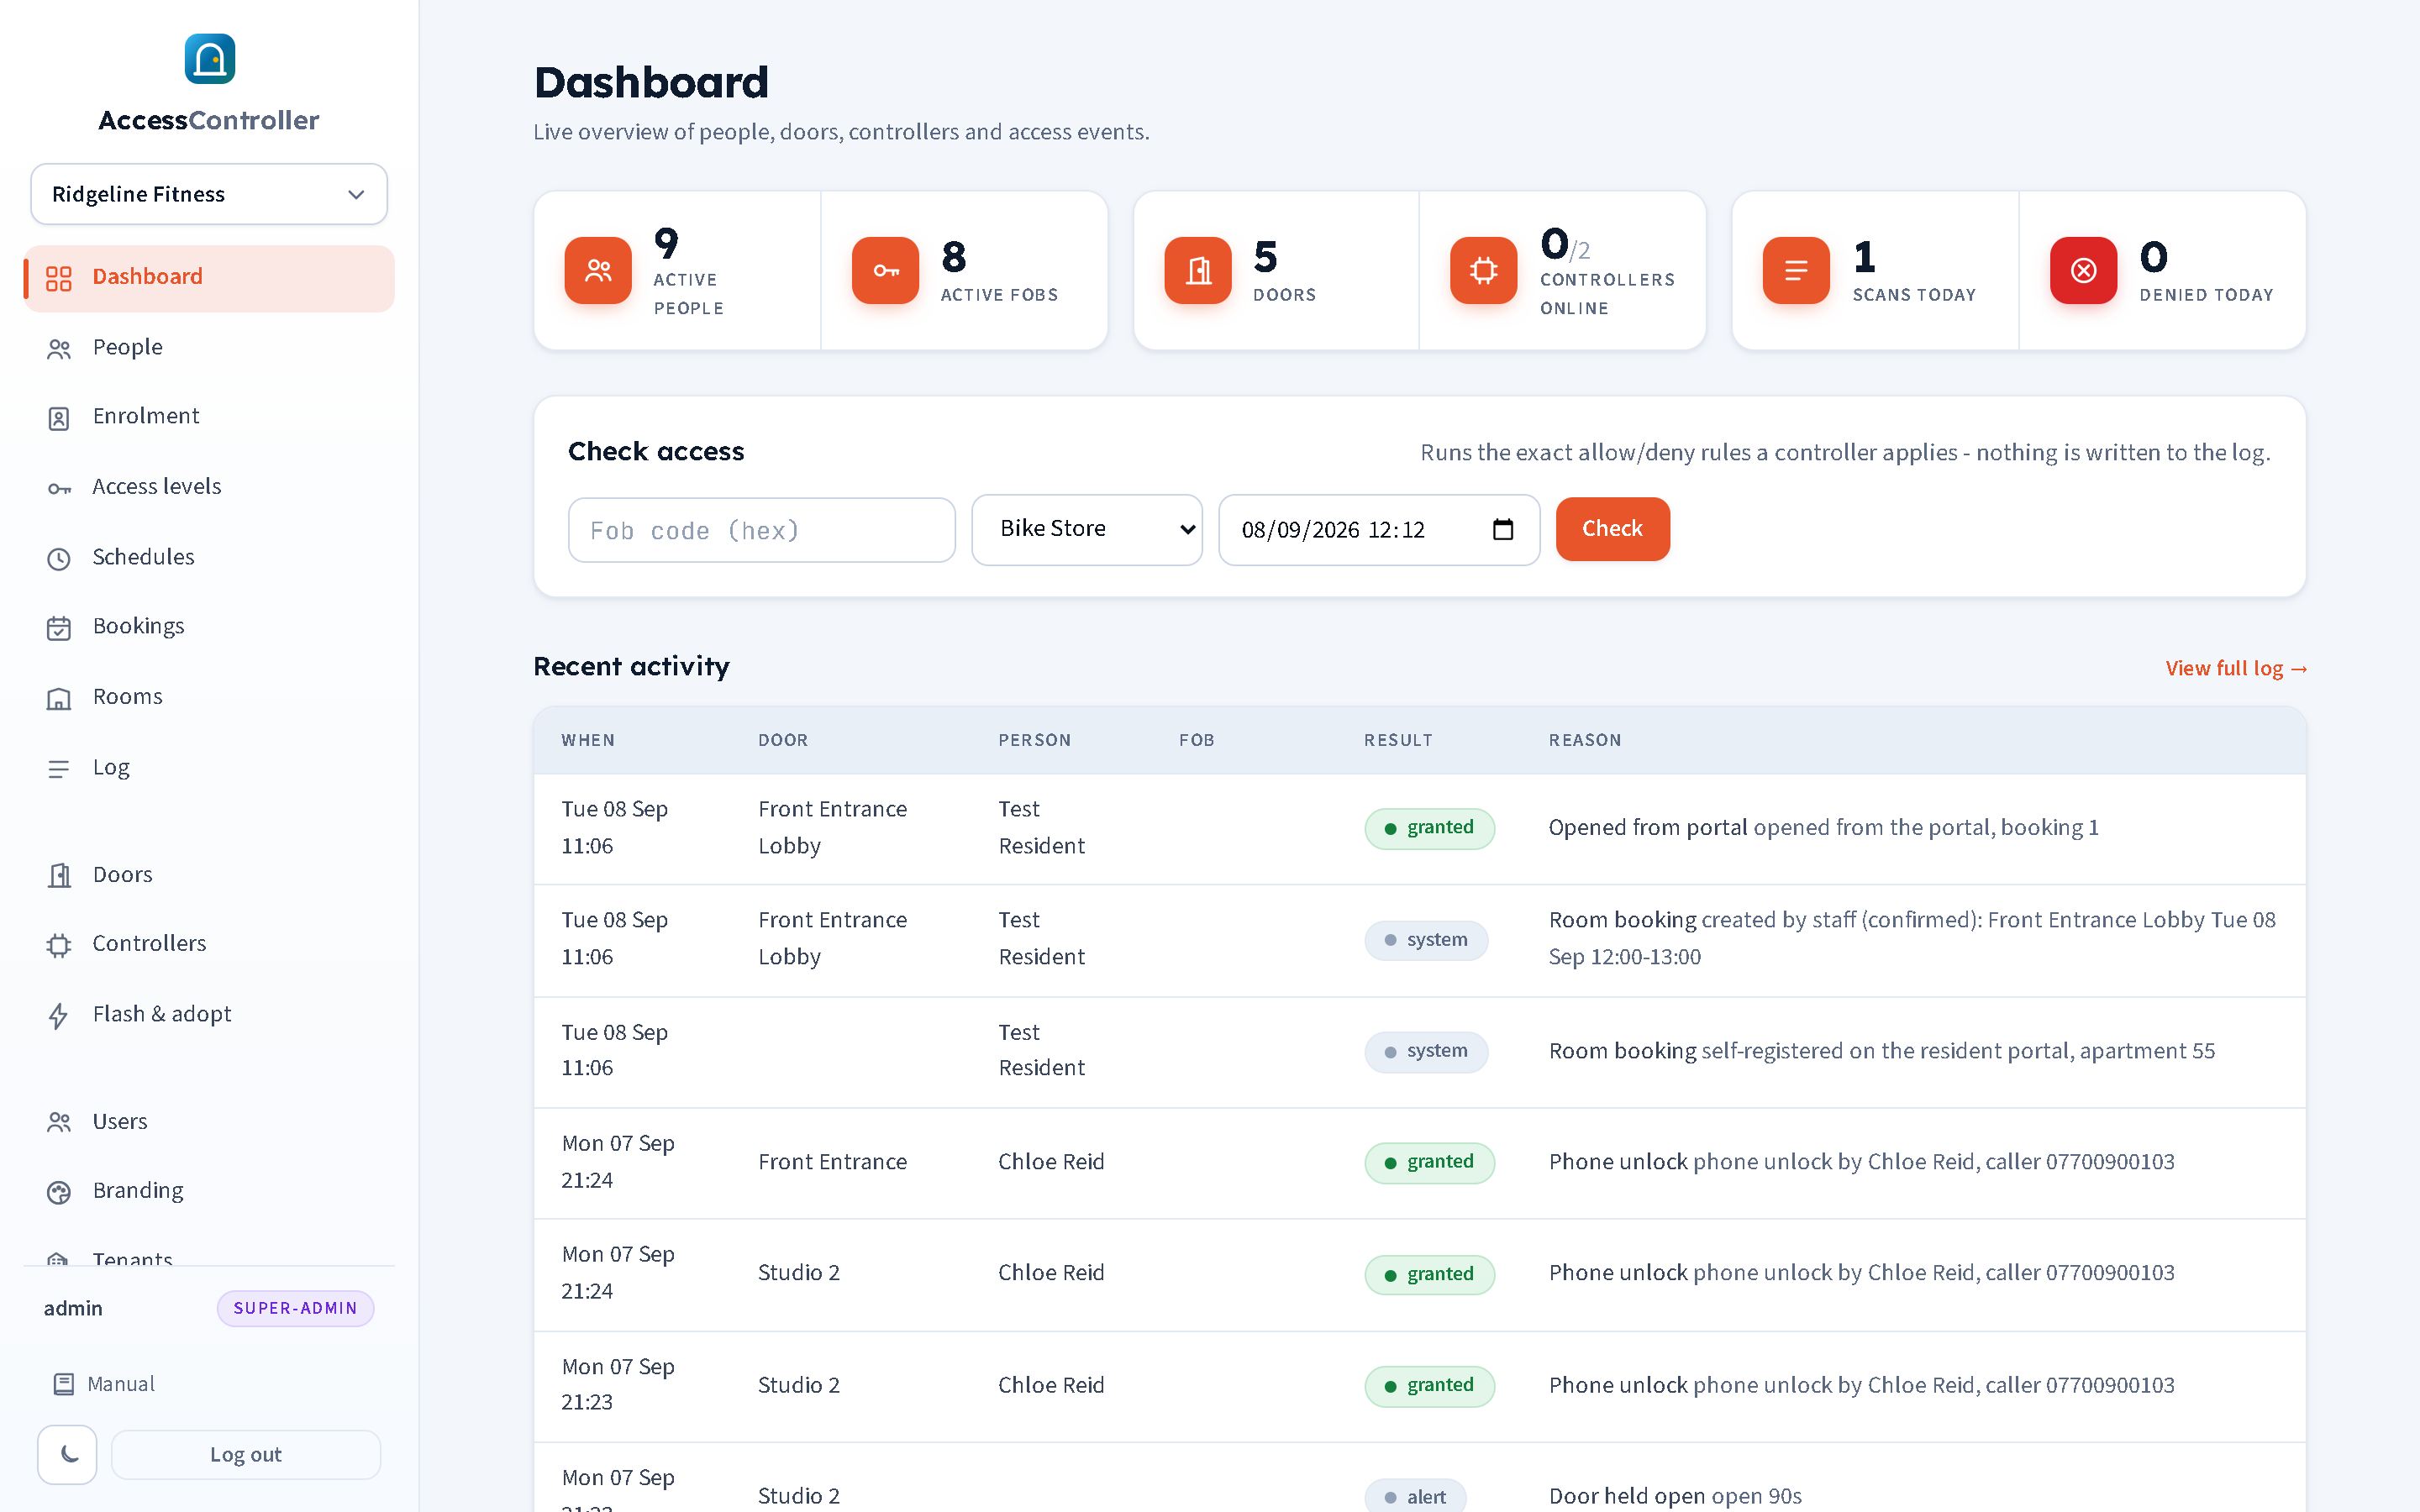
The top row has three tile groups. Each number is a link to the page it counts.
| Tile | Meaning |
|---|---|
| Active people / Active fobs | People whose status is active, and fobs whose status is active and belong to someone in this tenant. |
| Doors / Controllers online | Number of doors, and how many controllers have reported in within the last 10 minutes out of the total registered. 2/2 is healthy; 1/2 means one controller has gone quiet. |
| Scans today / Denied today | Access events since midnight (panel timezone) and how many of them were denied. Door open/close and exit-button events are not counted. The denied tile turns red when the count is above zero and links straight to the filtered log. |
Below the tiles:
- Captured fobs waiting appears as an amber banner when fobs have been captured by enrolment and not yet assigned to a person (chapter 6). Click assign to deal with them.
- Controllers awaiting onboarding appears when a new controller has registered itself but has not yet been named, mapped to a door and set active (chapter 5).
- Check access runs the exact allow/deny rule a controller applies, for any fob code, door and date/time, without writing anything to the log. Use it to confirm a new person's set-up or to see why someone was refused at 05:55 yesterday. Enter the fob code (hexadecimal, as shown on the person's page), choose a door, adjust the time if you want and press Check. The result shows granted or denied, the person matched, and the reason in plain English.
- Recent activity lists the last 15 events. View full log opens the Log page with filters (chapter 11).
If enrolment mode is running for your organisation, a banner is shown at the top of every page with a Stop button (chapter 6).
Using the panel on a phone
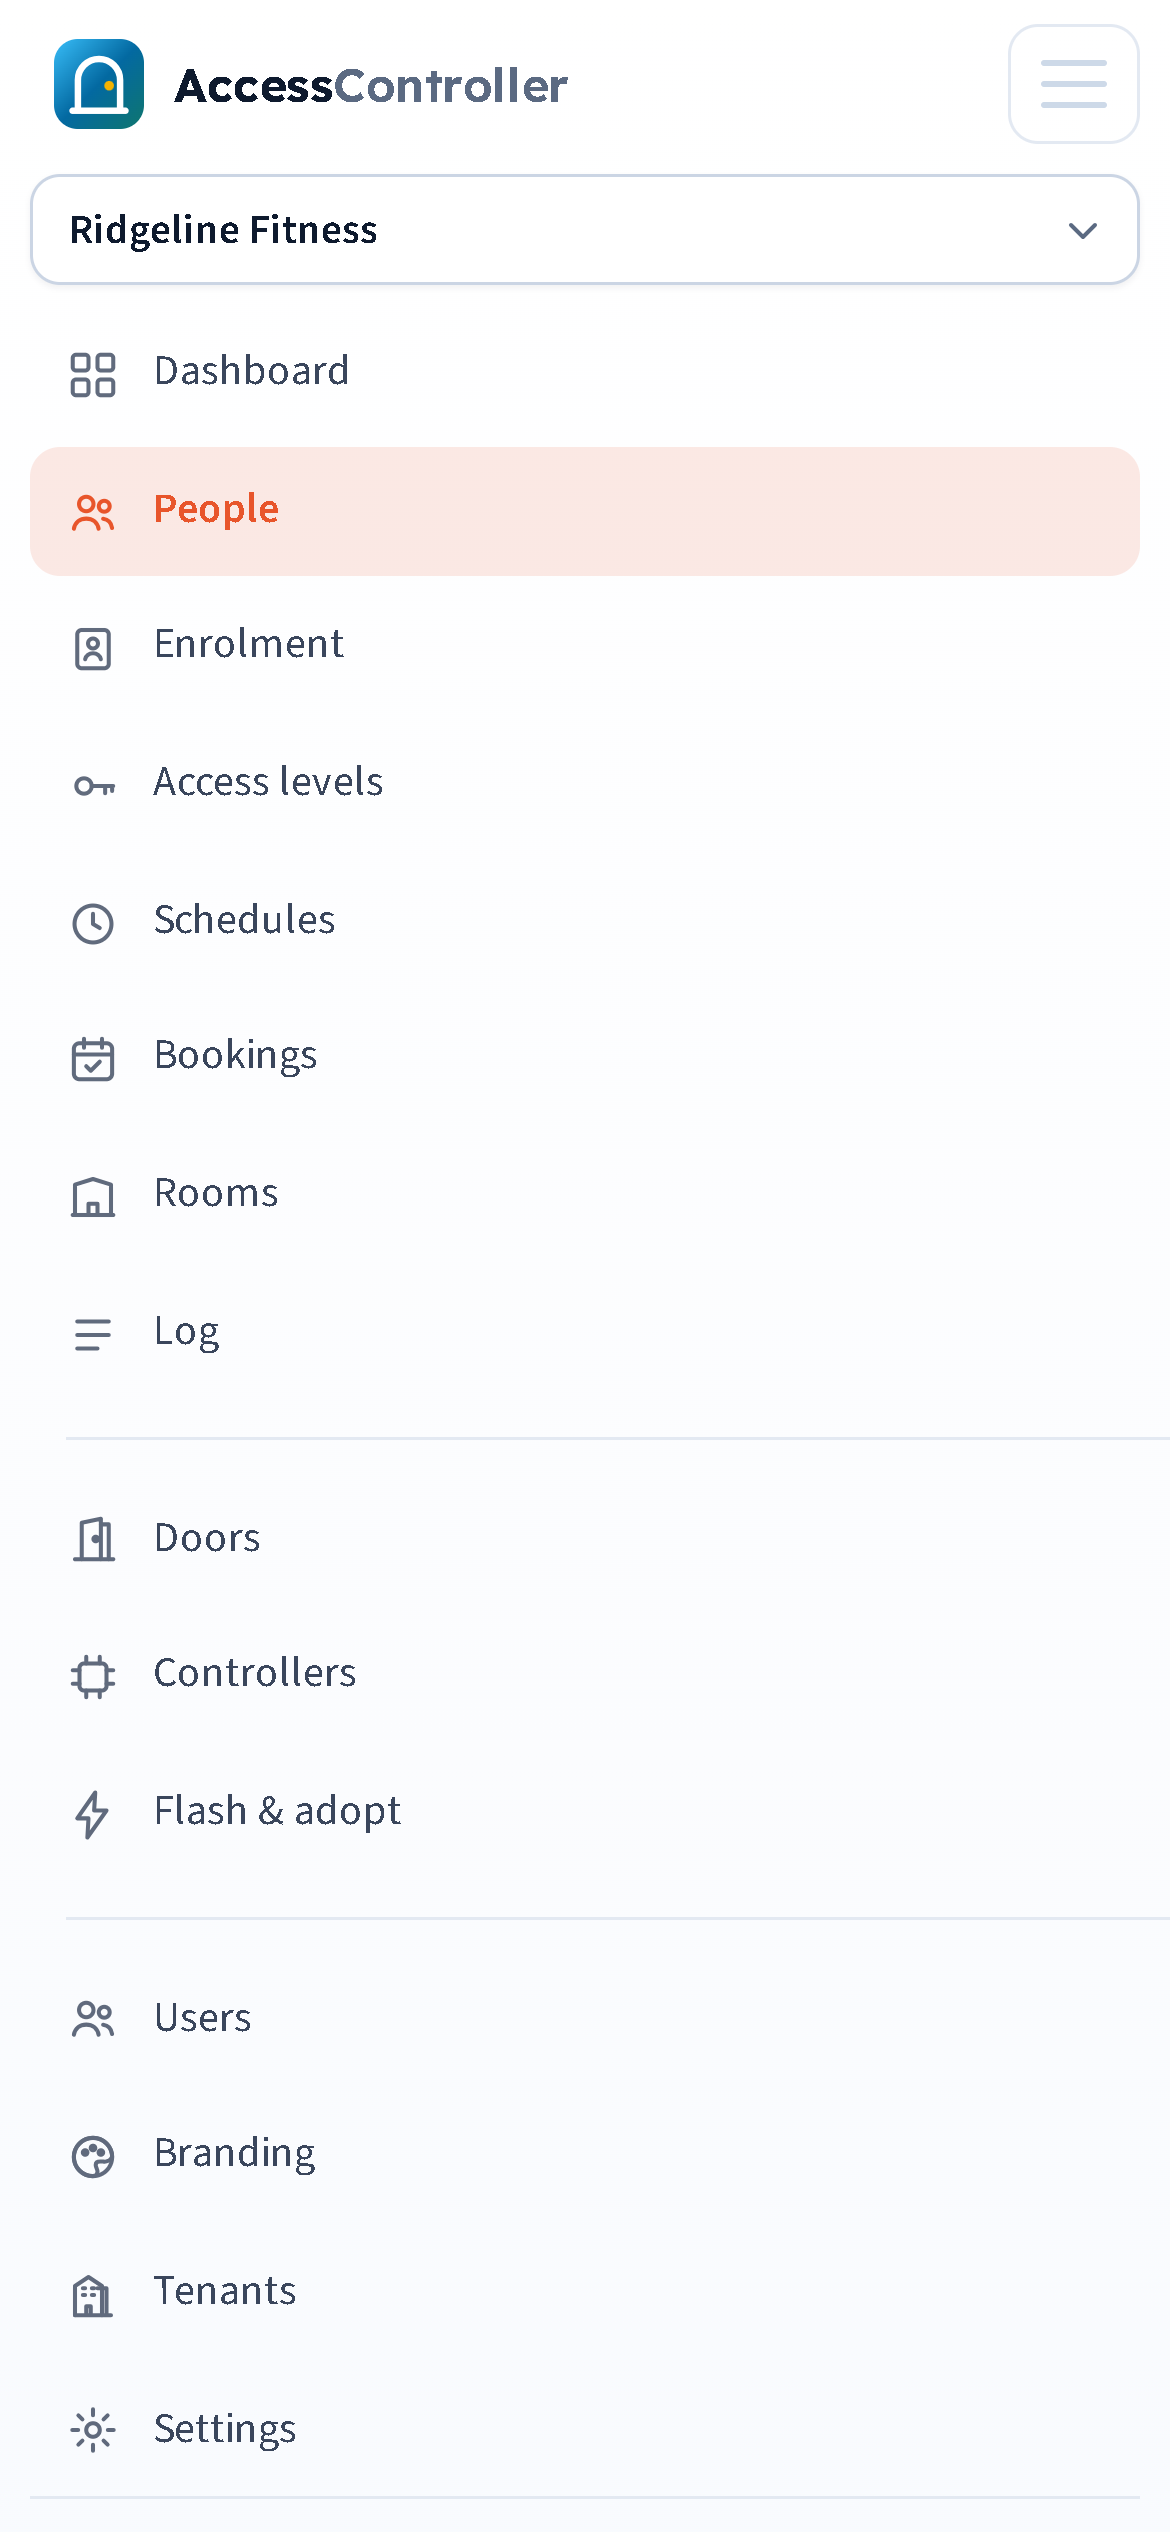
The panel is the same on a phone as on a desktop; the sidebar simply folds away. Below about 880 pixels wide, which covers every phone and most tablets held upright, the sidebar becomes a bar across the top with the logo on the left and a menu button (three lines) on the right.
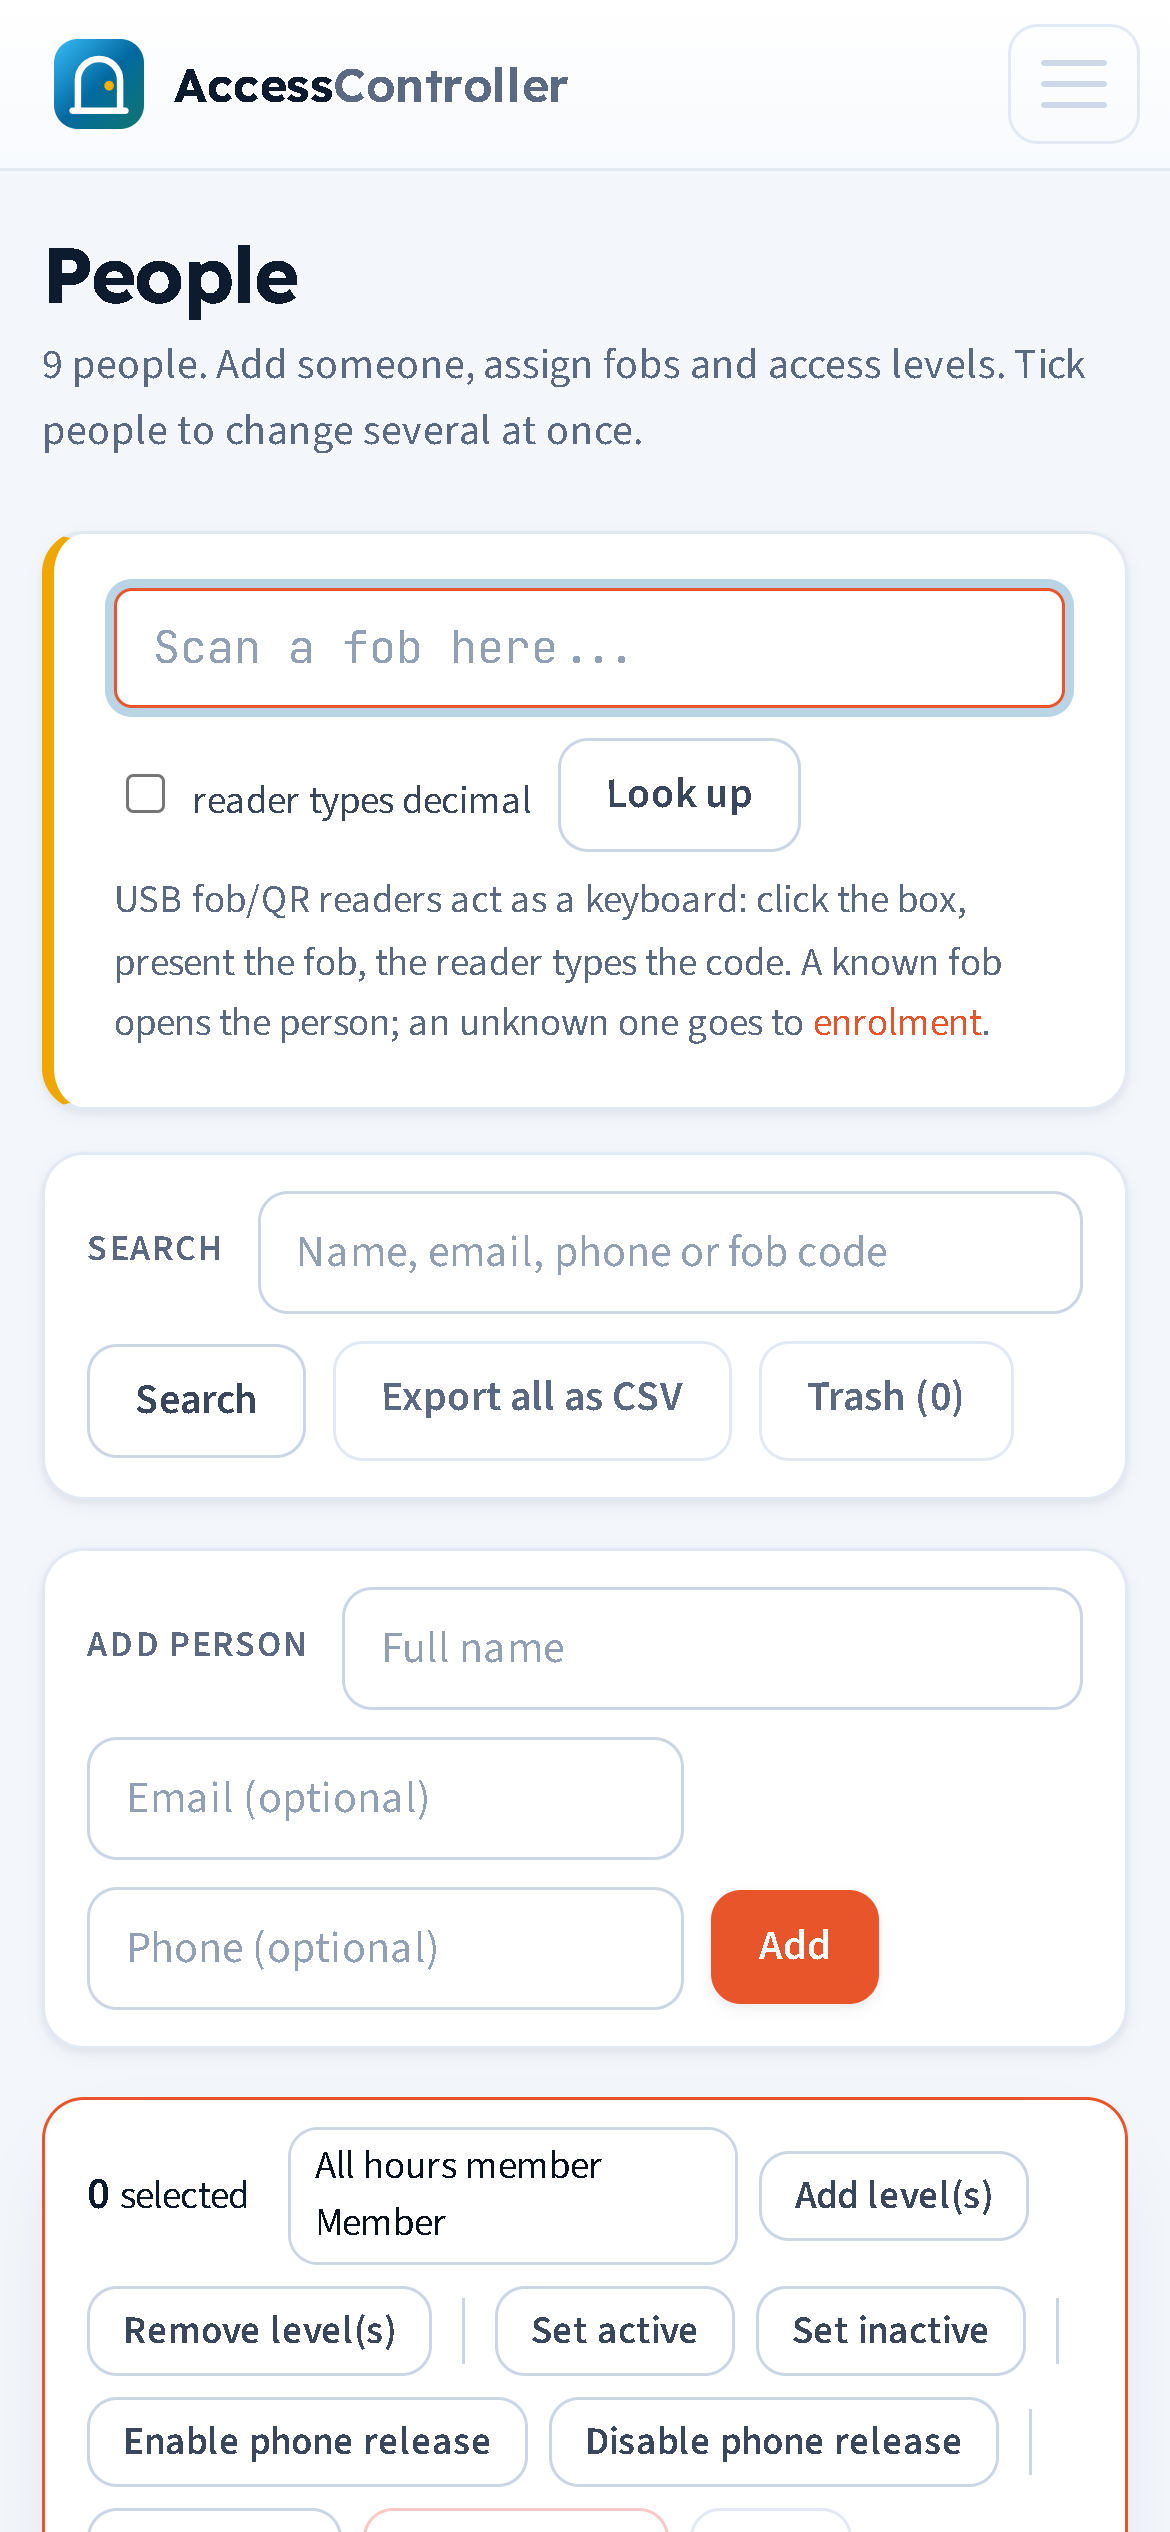
Tap the menu button and the whole sidebar drops down underneath it: the tenant switcher (or the tenant name), every page you have permission to see, and at the bottom your username and role, the light/dark toggle and Log out. Tapping any link closes the menu and takes you there.
Wide tables scroll sideways inside their own panel rather than stretching the page, so the log and the people list stay readable. Everything an admin can do at a desk can be done from a phone, which matters most for the jobs you do standing at a door: assigning a captured fob, unlocking a door, checking why someone was refused.
Switching tenants (providers)
If you are a super admin hosting several customers, the drop-down at the top of the sidebar lists every tenant. Choosing one "switches you in": the whole panel then shows only that tenant's people, doors, controllers, log, users and settings, and anything you add is created in that tenant. The provider's own tenant is marked "(provider)". The Tenants page (chapter 14) lists them all with a Switch in button per row.
Admins and viewers belong to one tenant and see its name in the sidebar instead of a drop-down; they cannot switch.
Branding
Each tenant can carry its own look. Open Branding in the sidebar.
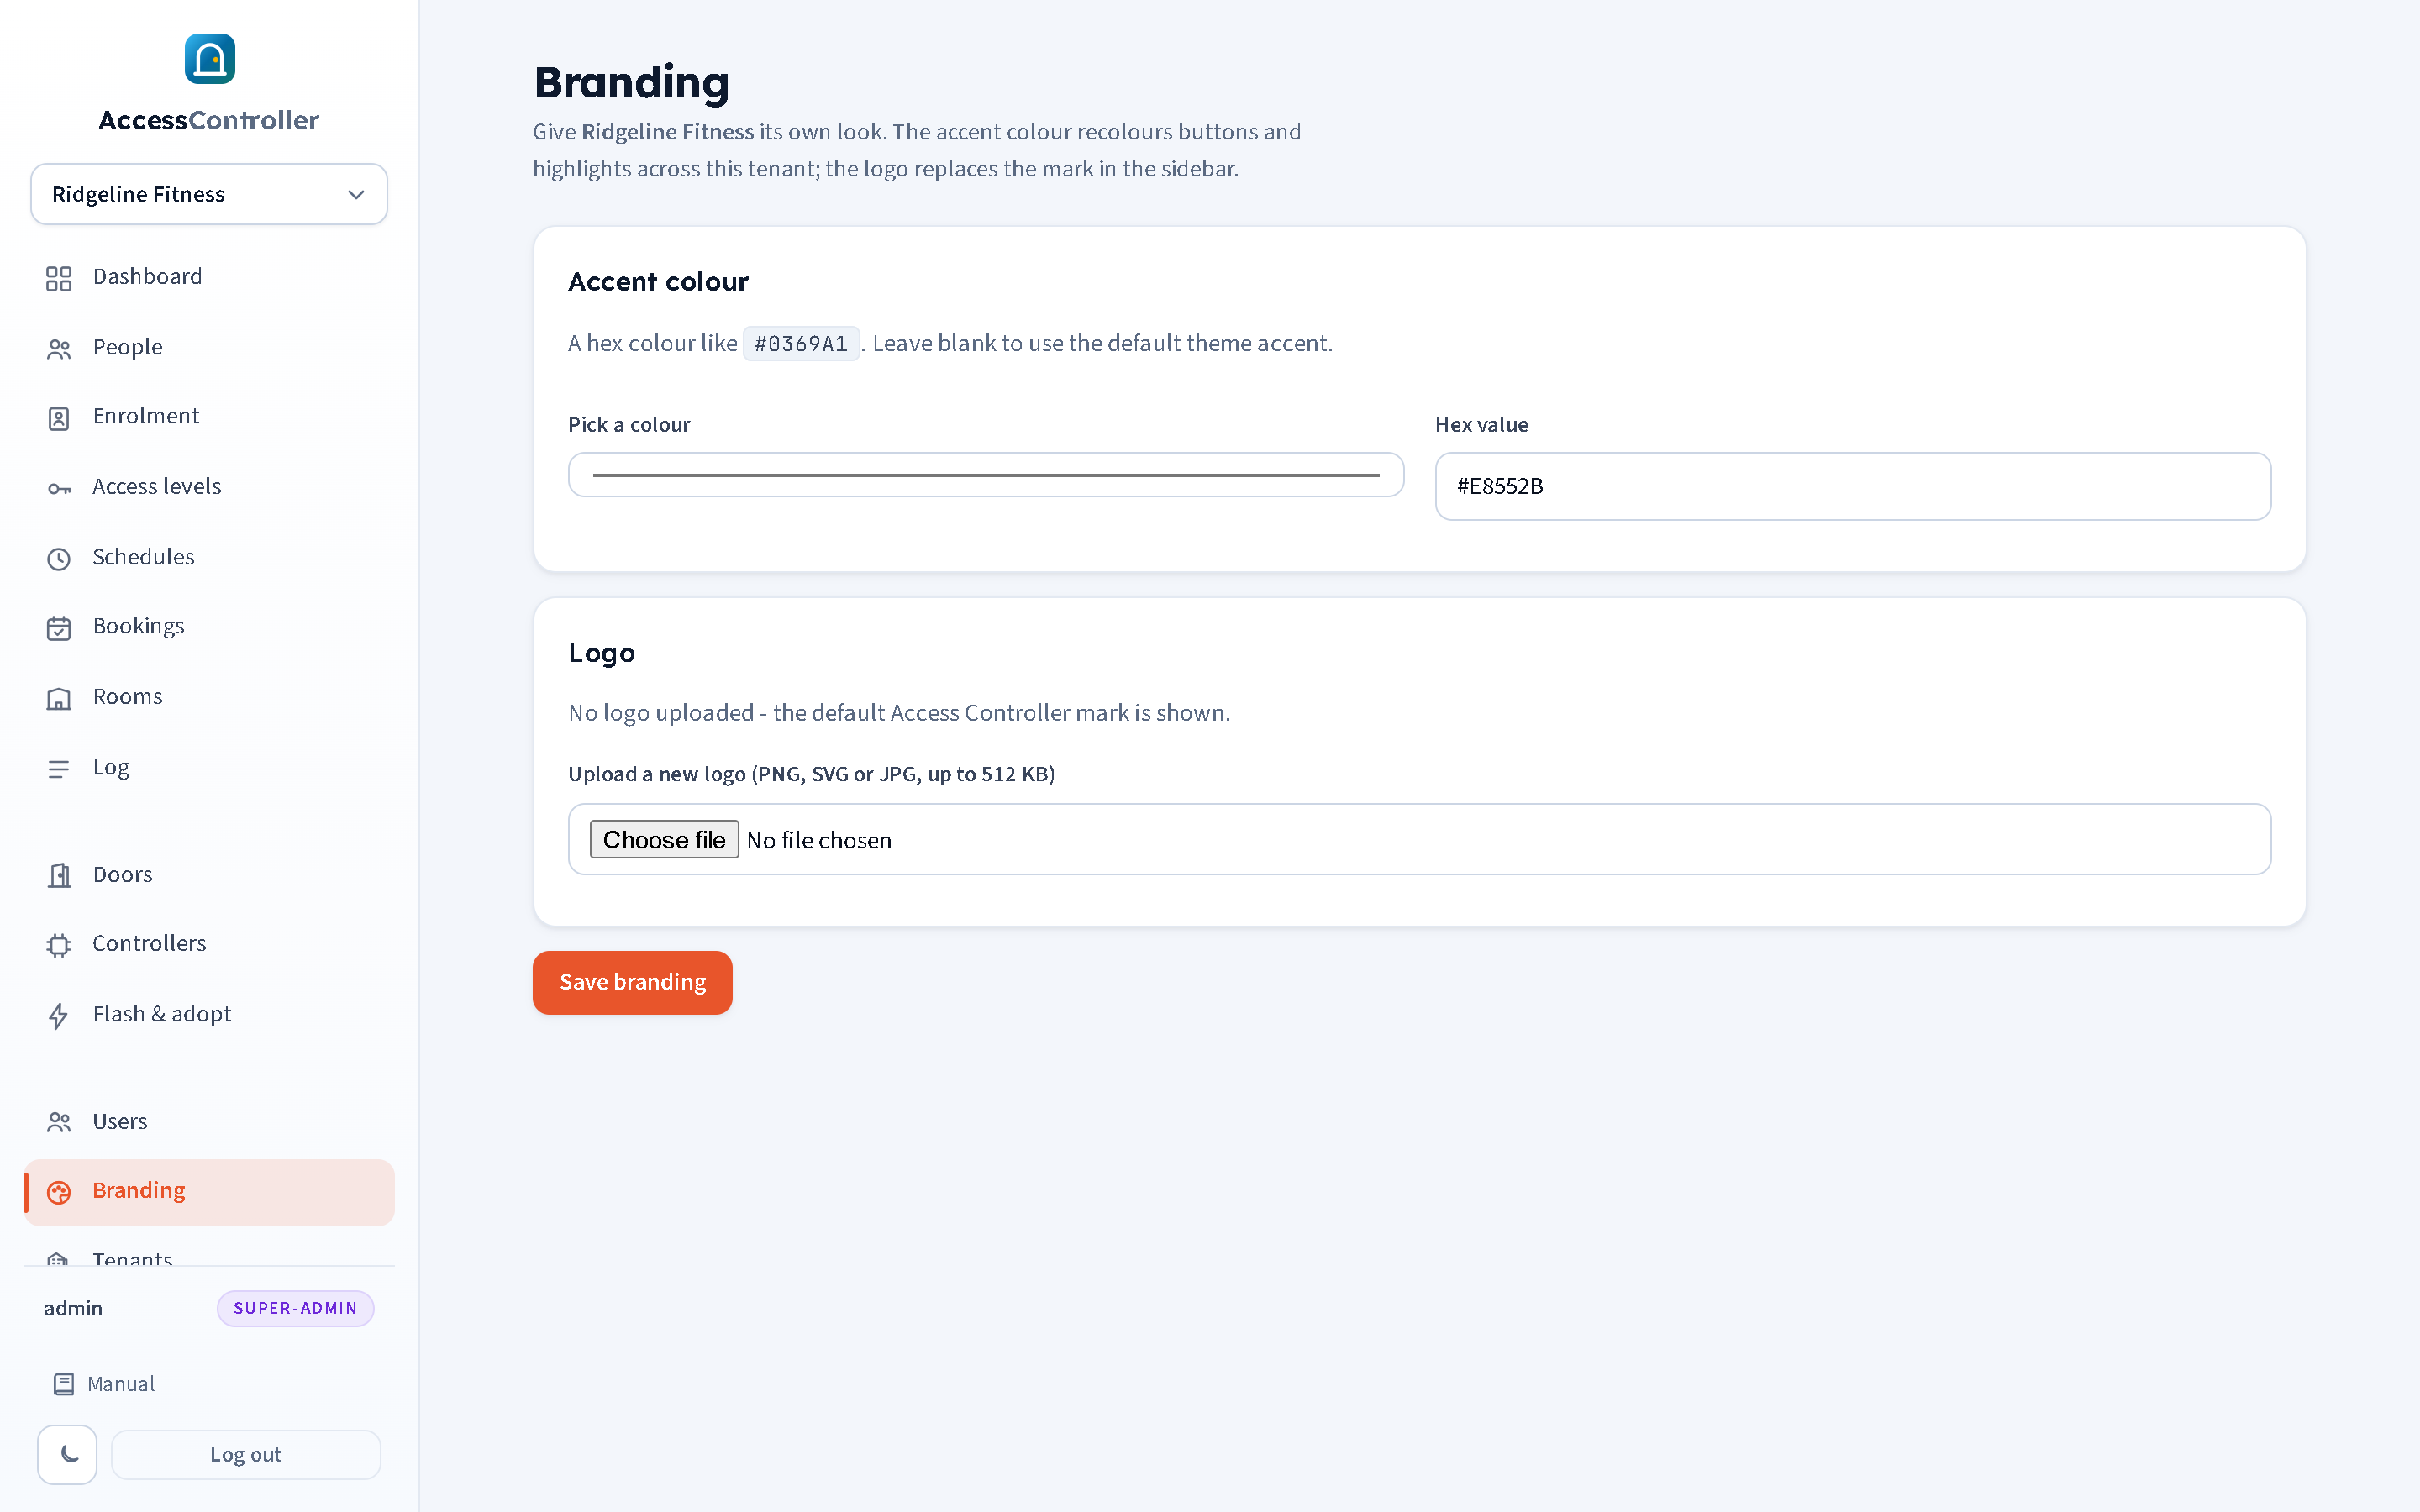
- Accent colour: pick a colour or type a hex value such as
#0369A1. It recolours the buttons and highlights throughout the panel for that tenant, and the reception screen uses it too. Leave it blank to return to the default blue. - Logo: upload a PNG, SVG or JPG of up to 512 KB. It replaces the Access Controller mark at the top of the sidebar. Tick Remove the current logo and save to go back to the default mark.
Press Save branding. The change applies immediately for everyone in that tenant. Branding is a "change" permission on its own page, so admins and custom roles with the Branding tick can do this; viewers cannot.
A sensible order for a new site
If you are setting a site up from nothing, this order avoids back-tracking:
- Doors (chapter 3): add each door by name and choose fail-safe or fail-secure.
- Settings (chapter 13): enter the controller Wi-Fi (unless every controller is wired), the controller type and any non-default wiring.
- Flash & adopt and Controllers (chapter 5): flash each controller, let it register, name it, map it to its door, set it active.
- Schedules (chapter 7): create the weekly patterns you need, for example "Opening hours".
- Access levels (chapter 7): bundle doors and a schedule into "Members", "Staff" and so on.
- People (chapter 6): add people, attach fobs (by typing, scanning at the desk, or enrolling at a door), tick their access levels.
- Check access on the dashboard: try a fob against a door before anyone tests it for real.
- Users (chapter 12): give colleagues their own logins with the least permission they need.
- Optional: Reception screen (chapter 10) and Phone access (chapter 9).
- Optional: Rooms and Bookings (chapter 8) if the site has shared spaces residents should book, and then publish the resident portal under Settings.